
End of the Imperial March
Notes from brew day #6 & #7Categories: 8-minute read
Wow, 5 months have passed since my last homebrew journal entry and it was written on the day of the first of today’s summarised brews. The seventh of my brews was back in late September just after I started my PgDip Brewing and Distilling course , much writing about beer has happened since then but all academically and not on this site, though I am happy to report that things are progressing well in that area and for anyone interested I have links to my assignments on my bookmarks page .
Anyway, let’s crack on, shall we?
In the same vein as my previous post I’ve decided to bundle both brews together as they were using the same base recipe with minor adjustments to adjuncts. As you might expect with a series of brews that are essentially the same, improvements were notable in each subsequent brew and the last one, in which I had assistance from my wife, zero mistakes were made.. not a typo!
As I’ll be covering two brews I’m going to condense my normal layout a little and skim over parts which went well for both brews. Both brew days went smoothly but in the area of gravity measuring a discovery was made in the latter brew which proved to be a valuable learning experience.
The Beer Kit
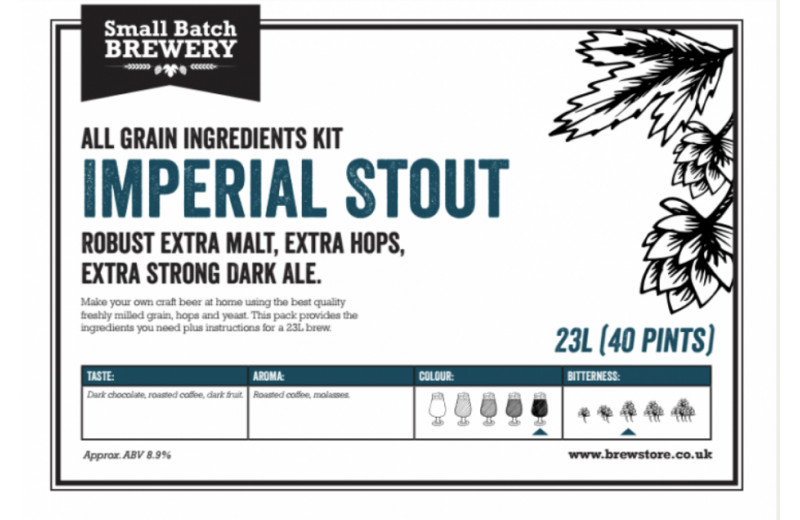
The beer kit for both of these brews was this Imperial Stout 23L All Grain Beer Kit (pictured above) from Edinburgh based brew store .
The kit contained a pre-ground bag of grains (unspecified) and 2 vacuum-packed foil wrapped packs of hop pellets (namely hop A and hop B).
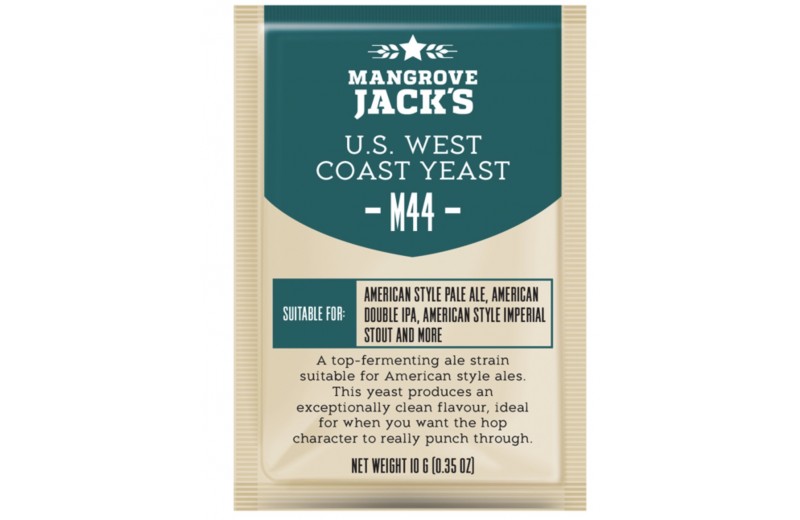
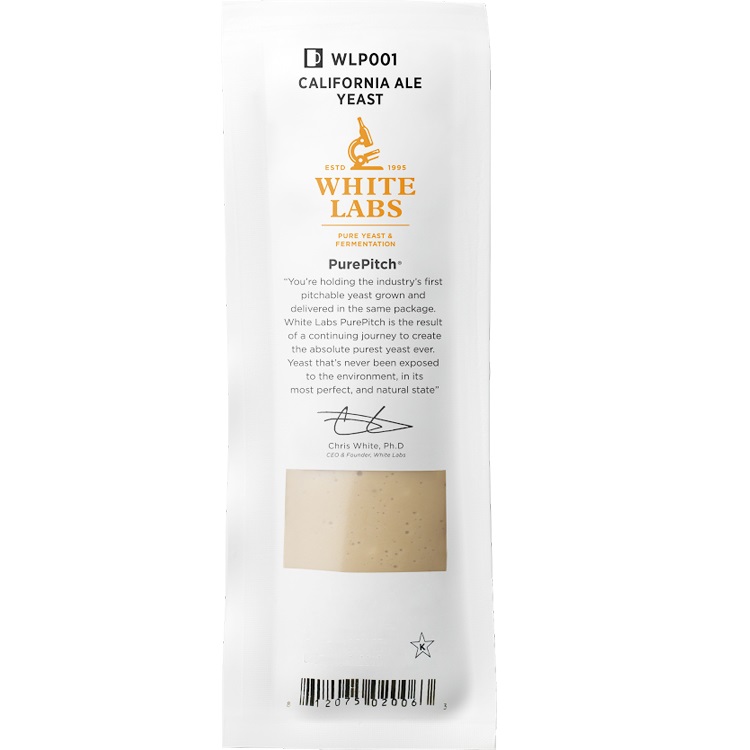
The yeast for both brews was a dried yeast (Mangrove Jack’s M44 West Coast Ale Yeast ).
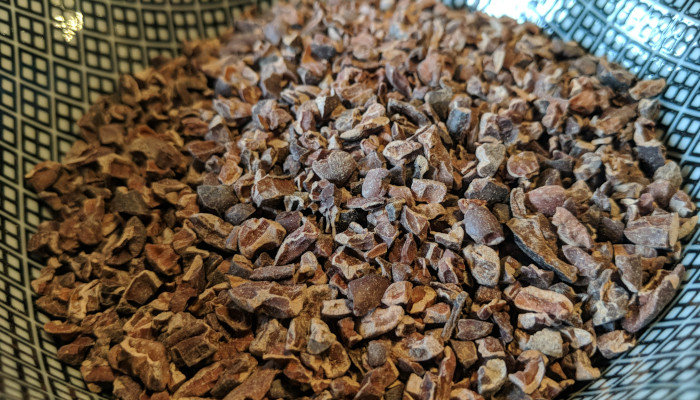
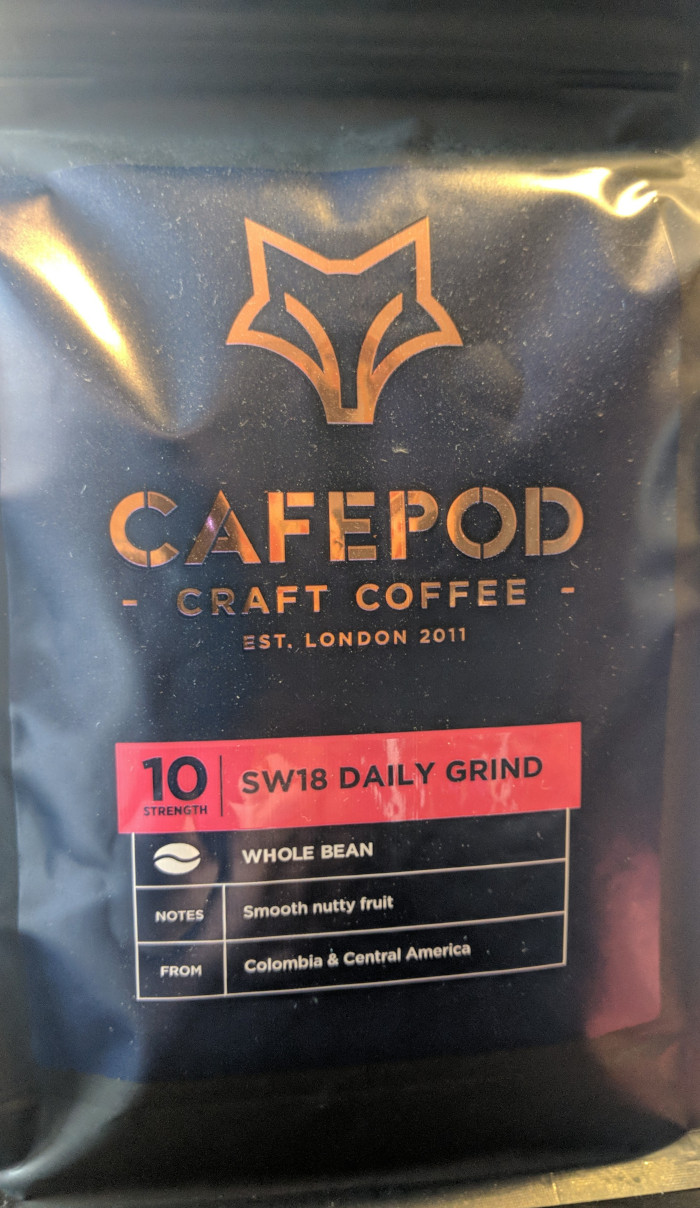
Additionally on brew day #6, I tweaked to volumes of the adjuncts from the previous brew to try to produce a more chocolate-y stout so I used 150g of cocoa nibs and 100g of coffee beans. On the next brew day, I reduced this to 120g of cocoa nibs and dropped the coffee altogether.
The ingredients were accompanied by some general brewing tips and as always the …
Brew Day Sheet
This very handy two page guide split the brew into its composite stages and provided target temperatures, gravity readings and volumes as well as space for recording timings and measurements throughout the day. It was very useful and despite my occasional flapping it kept me pretty much on track. The composite parts of the sheet will be incorporated below in the stage sections.
Stage 0 - Prep!
No issues here on either day so, moving on!
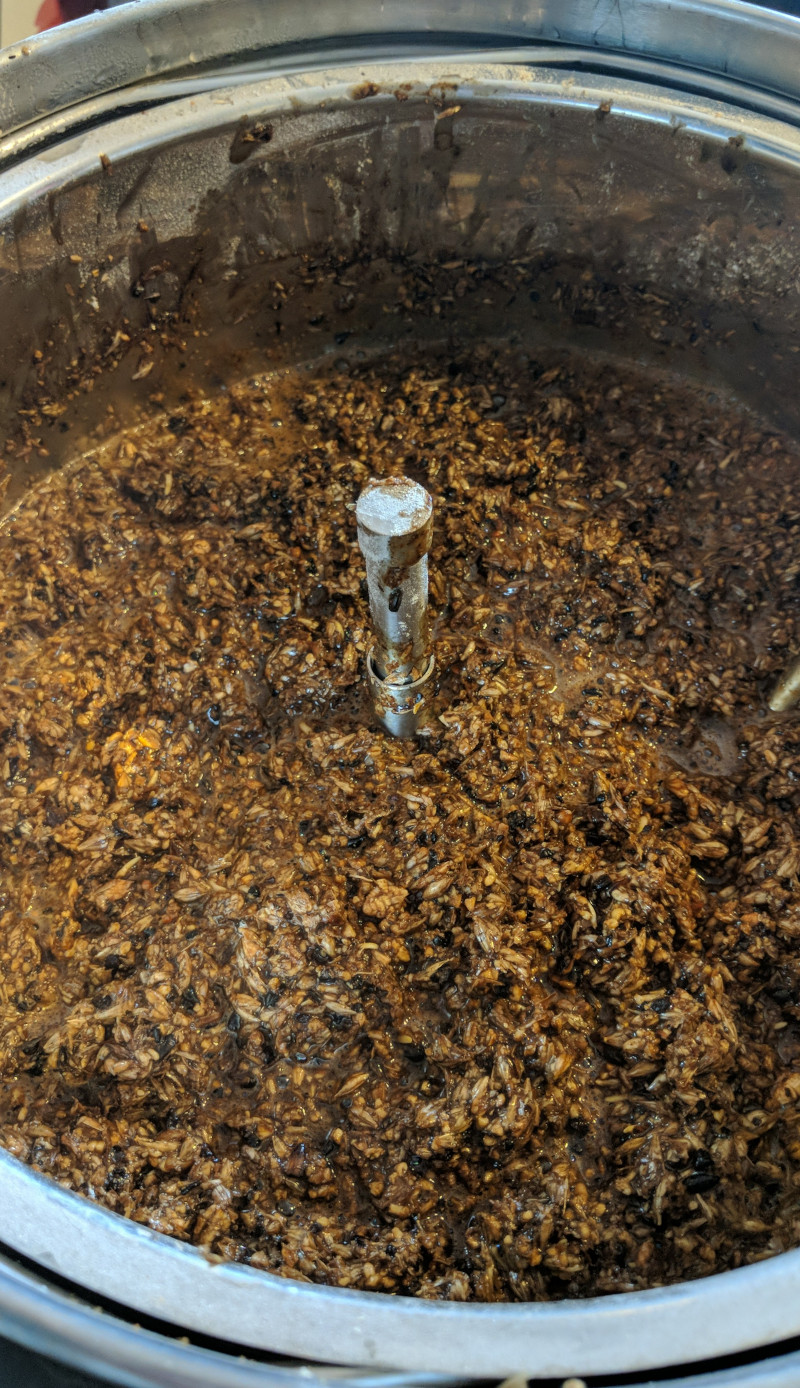
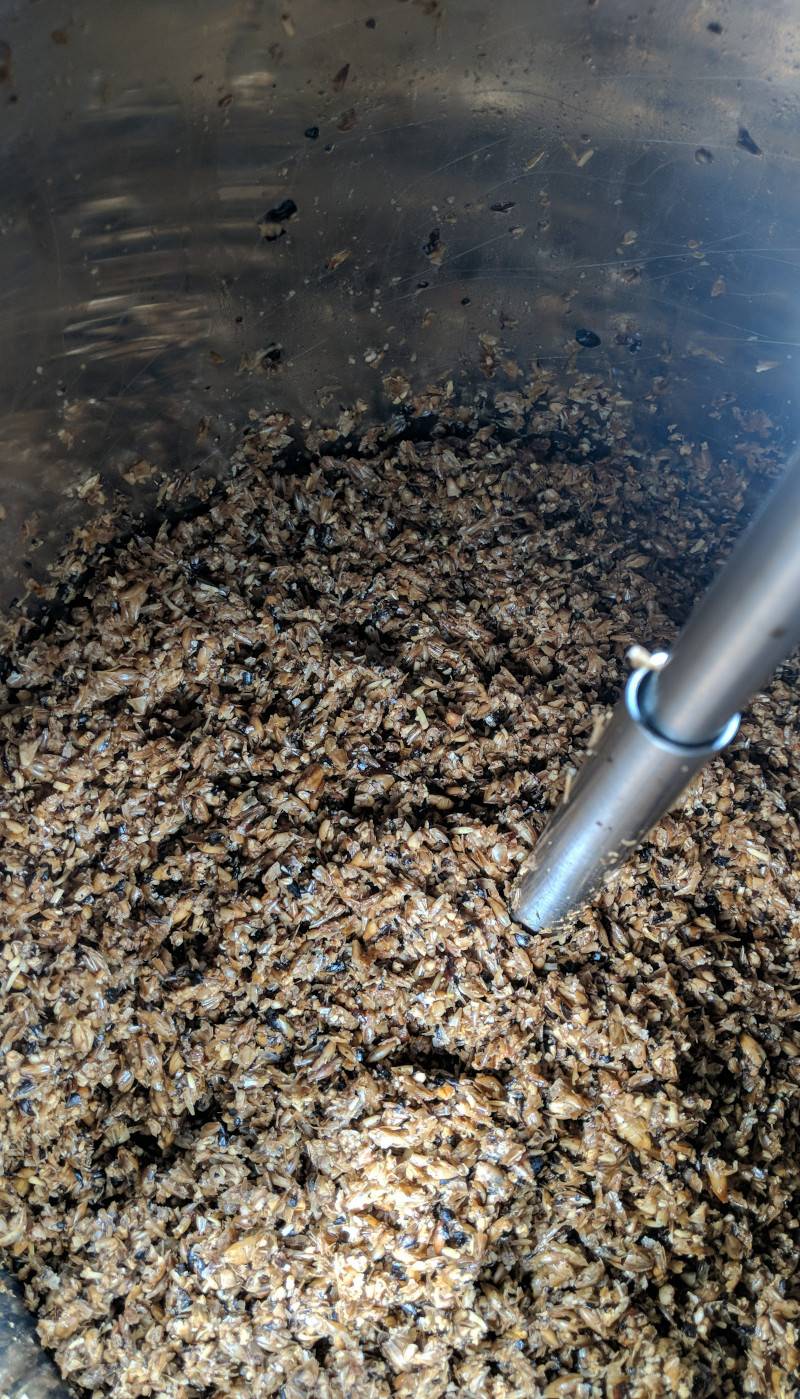
Stage 1 - Striking & Mashing
This stage went very well on both days, though on brew day #6 I accidentally brought the temperature down to 66°C for the mash, but recovered to 68°C and maintained the temperature for the hour. During both brew days I took more time to constantly, gently, mix and move the grain bill around whilst the temperature was reducing from the strike temp. of 76°C, than I had previously. In earlier brews I was concentrating on getting the temperature down quickly and less focussed on loosening the grains and breaking up clumps, this led to a more vigorous approach which it seems might have been somewhat counterproductive.
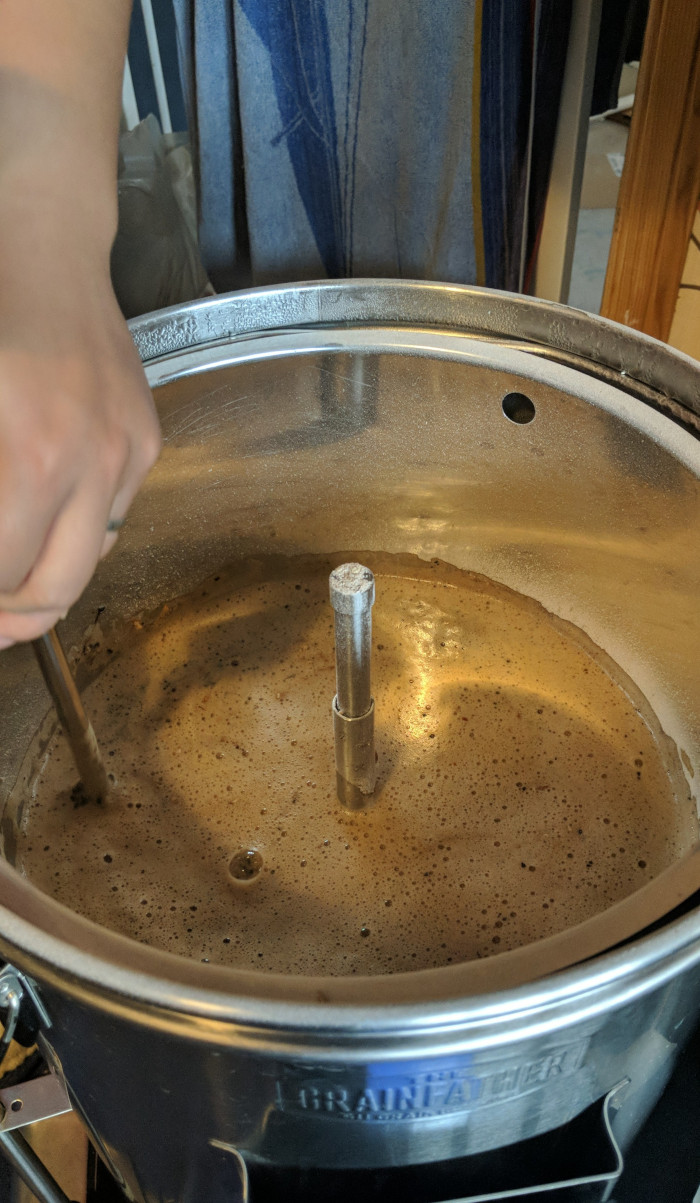
As noted previously my grainfather is definitely struggling a little with consistency when heating and maintaining heat, it is a candidate for replacement when time and funds are more ample.
Stage 2 - Lautering & Sparging
Again, I followed a similar procedure on both days which was to gently coax the water from the grains during lautering, breaking up the grain bed gently so that the wort could flow a bit more easily. When it came to sparging, I was a little bit more aggressive with the breaking up of the grain bed, allowing the rinse water to pass through somewhat quicker than before. Compared to brew day #5 this process completed almost 2 hours earlier!
Stage 3 - Boiling
On both of these brews, and in comparison to previous brews, there was a much more generous protein build up at the start of the boiling stage. It took about 6 minutes to break it up and this I believe is a good sign and is a direct result of the tweaking of my mashing method.
Stage 4 - Hop Additions
The schedule for this both brews was:
- 36g of hop B at 60 minutes (start of boil)
- 36g of hop A at 25 minutes (35 minutes into the boil)
In addition for the second of the brews:
- 150g/120g of cocoa nibs at 5 minutes (55 minutes into the boil)
- 100g of coffee beans at end of fermentation for 24 hours for brew #6.
No whirlpools again, this is a future experiment because its an invite to chaos with the false-bottom in my grainfather.
Stage 5 - Cooling
No notes were taken with regards to cooling and I have no adverse memories of this part of the process, so I gather all went well.
Stage 6 - Fermenting
As a result of learning more about yeast on my microbiology course, I had developed a deeper understanding of the requirements for a good fermentation by the time I did my 7th brew, I have a deeper still understanding now but it remains to be seen how that plays out in future brews! As such for brew #7, I was intent in increasing the available oxygen for the yeast for the initial phase of fermentation, and the conical fermenter is a little too heavy to lift and shake.. So after transferring the wort from height (normal procedure), and through a sieve (ineffective), I experimented with using an electric whisk (sanitised of course) and this definitely greatly increased the surface oxygen and produced the amount of frothy bubbles that I was looking for.
For reference the following were my volume and gravity targets and final gravity (FG) results:
- Desired Volume: 23L
- Actual Volume (day #6): 23L
- Actual Volume (day #7): 18L is what I have written in my notebook.. but that can’t be right!
- Desired OG: 1.083
- Actual OG (#6): 1.081
- Actual OG (#7): 1.083
- Desired FG: 1.016
- Actual FG (#6): 1.041
- Actual FG (#7): 1.041
- Actual FG (#7 with a device I can actually use): 1.022
- Desired ABV: 8.9%
- Actual ABV: ~5.25% (but really ????)
- Actual ABV: ~5.51% (but really ~8%)
As previously suspected, I am not using the refractometer that I have used to measure every one of my brews, correctly. It seems to measure higher gravities reasonably well but doesn’t fall below 1.040, which isn’t ideal since every single final gravity target is lower than that by some margin. Having received advice from a few mutuals on mastodon, it seems like it needs to be calibrated with purified water and maintained at 20°C +/- 0.5°C and needs to be regularly recalibrated.. Thankfully, I had a hydrometer lying around which requires no calibration and which gave me much more promising results. It does require a sacrifice of more beer for measuring but for some degree of accuracy that’s fine with me. Also as a result, I don’t really know how close to previous targets I hit but.. onwards!
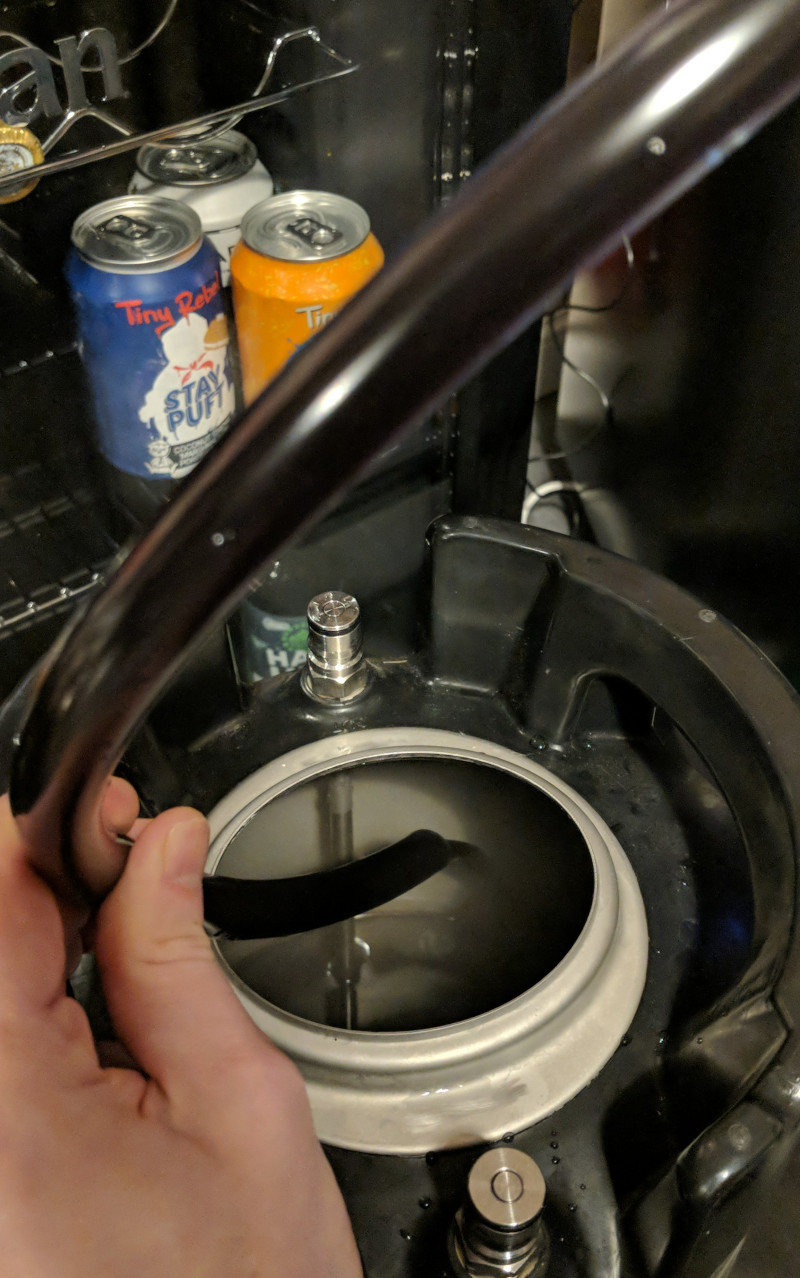
Stage 7: Kegging & Carbonating
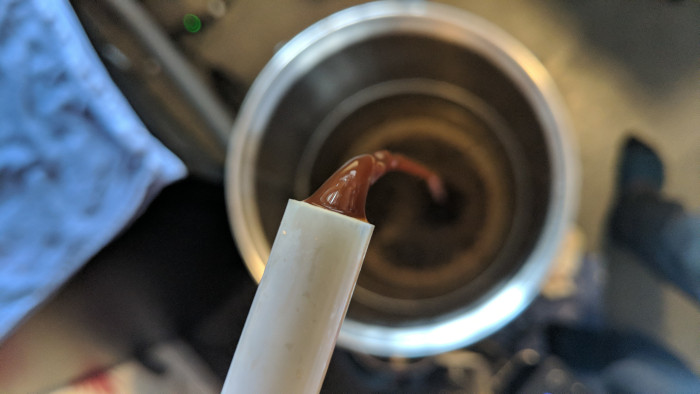
During the transferring of beer to keg on brew day #7, I took multiple samples at different stages to measure with the refractometer as mentioned above, this was really to rule out a niggle that maybe at different stages of the transfer there would be different trub concentrations that perhaps were affecting the gravity reading of previous samples taken from the tap at the bottom of the conical fermenter.. it didn’t really seem to make much difference but a worthwhile exercise nonetheless.
Stage 8: Drinking
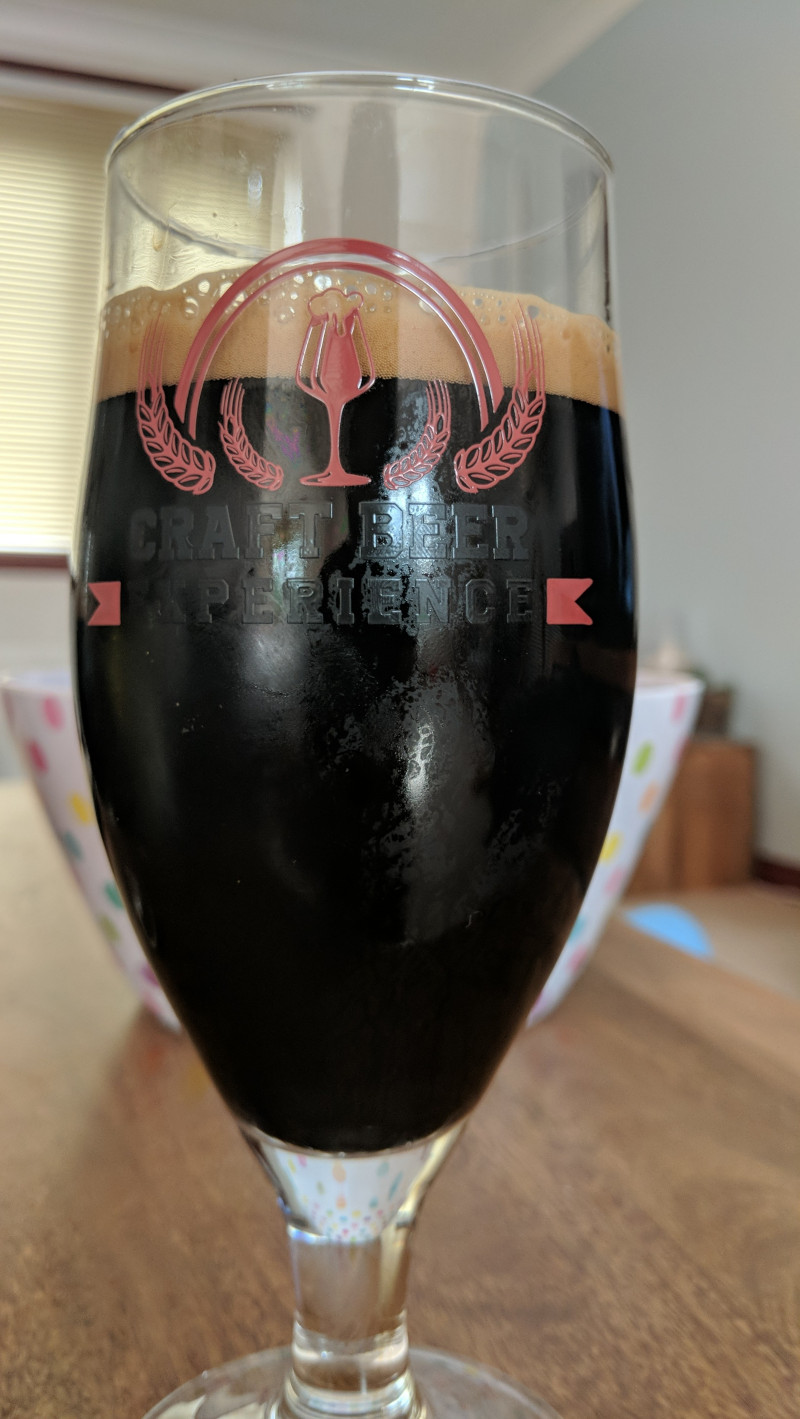
Both beers were delicious, the first was a novice attempt to come close enough to Mouse Mousse chocolate stout by Fierce Beer and I don’t think I was overly far away but perhaps the coffee inclusion detracted from the comparison a little. The beer didn’t really taste much like an imperial stout, which tends to confer an oily quality and strong alcohol flavour, it was instead a very easy to drink and pleasant, if not slightly thick, chocolate stout with a subtle coffee aftertaste. It was a glorious success and did not last long in this stout loving household.
The latter beer was my greatest triumph yet, not only because finally I acquired an accurate reading of the final gravity but it is (not was, more on that shortly) indisputably an imperial stout! By lowering the cocoa nibs volume, the strong chocolate flavour of the previous beer was lessened but still a little more than subtle and it is very much my favourite beer so far. Unfortunately, after pouring some of it, I noticed that I was out of CO2 and had to immediately stop pouring lest I decompress the keg.
Due to lockdowns, my access to the shop where I bought the gas canister is essentially outlawed and so I’ve been without gas for over a month.. I have just a few days ago discovered that the shop is actually supplied by a company in my town and that they would be happy to top the canister up if I can swing by their warehouse! I’ve had conversations with a local taxi company explaining that they’d be transporting a pressurised gas canister and we’re good to go. I just need to clarify cost of top up and how long the process will take (whilst the taxi meter ticks) and then hopefully this week I’ll be able to continue pouring my best beer yet!
Next up will be my first foray away from kit beers as I try a Scottish export type style from a recipe book. I chose the recipe due to its process simplicity and low volume of hops so that I could play around with different grains over the next few brews and see how I can tweak it into something delicious.


 Force Carbonation NOT Force Carbonisation


 Look how shiny it is!