

Not Black & White
Notes from brew day #4 & #5Categories: 9-minute read
Subtitle: A little less stout*
As I sit waiting for the mash stage of my 6th brew to complete, I figured this was as good a time as any to post the belated summary of my previous two brews.
I’ve decided to bundle them together as both brews were using the same base recipe and whilst one was a pretty smooth ride, the other was a catastrophe of errors!
As I’ll be covering two brews I’m going to condense my normal layout a little and skip over parts which went OK for both brews.
First though, a small bit of background on these two brew days.. Brew day number 4 was on a Friday, a day which is traditionally reasonably quite for my job and thus, I figured a day where I could fit in a brew whilst also working.. That Friday was not a normal Friday, that Friday demonstrated the clairvoyance and devilry that my colleagues apparently possess.. just as every single stage deadline approached, I was called, pinged or otherwise engaged to carry out some work. Stage transitions were rushed, wort was spilled and walls were decorated in partially formed stout.. It was a terrible idea and a disaster of a day!
Brew day 5 was an entirely different beast, having learned from stupidity, it was scheduled for a quiet Sunday. Every stage was carefully considered, measured and executed and bar introducing the 2nd hop 5 minutes early and not having fine mesh hop bags available, the day was a resounding success!
The Beer Kit
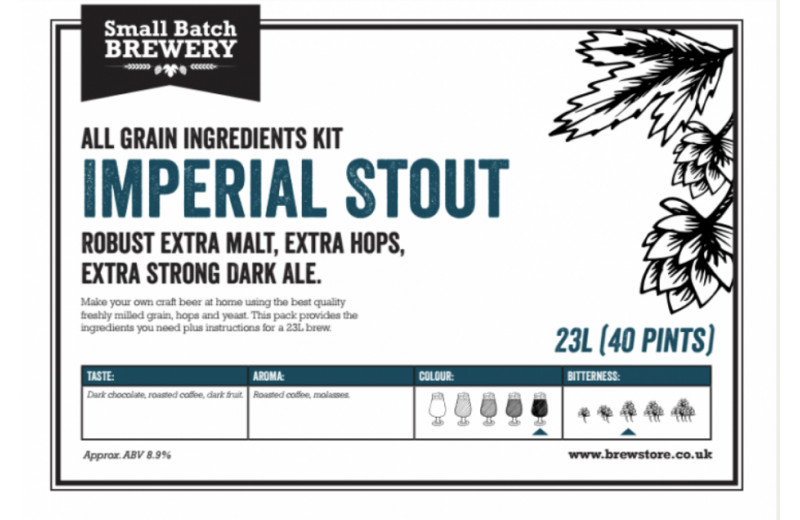
The beer kit for both of these brews was this Imperial Stout 23L All Grain Beer Kit (pictured above) from Edinburgh based brew store .
The kit contained a pre-ground bag of grains (unspecified) and 2 vacuum-packed foil wrapped packs of hop pellets (namely hop A and hop B).
The yeast differed between brews, one brew day #4 I used a liquid yeast (White Labs WLP001 California Ale Yeast ) and on brew day #5 a dried yeast (Mangrove Jack’s M44 West Coast Ale Yeast ). Though, to what end this contributed to differences in the beer, I am still too inexperienced to ascertain.
Additionally on brew day #5, I added a couple of adjuncts, 100g of cocoa nibs and 100g of coffee beans.
The ingredients were accompanied by some general brewing tips and as always the …
Brew Day Sheet
This very handy two page guide split the brew into its composite stages and provided target temperatures, gravity readings and volumes as well as space for recording timings and measurements throughout the day. It was very useful and despite my occasional flapping it kept me pretty much on track. The composite parts of the sheet will be incorporated below in the stage sections.
Stage 0 - Prep!
No isues here on either day so, moving on!
Stage 1 - Striking & Mashing
On brew day #4, I started poorly and continued in a similar but more frantic vein.. First mistake, aside from scheduling a brew on a work day, was that I had pushed the pipework too far down into the heated grain was unable to retrieve it, resulting in grains being able to bypass the false floors and potentially block the filer in the brewing unit.
On brew day #5 there seemed to be some sort of blockage in the circulation pipe and it wasn’t circulating as much as I’d have liked, but I managed to fix this on the fly with only a momentary drop in mash temperature.
Otherwise, the striking and mashing stages went OK for both brews, though I noted yet again that my grainfather is definitely struggling a little with consistency when heating and maintaining heat.
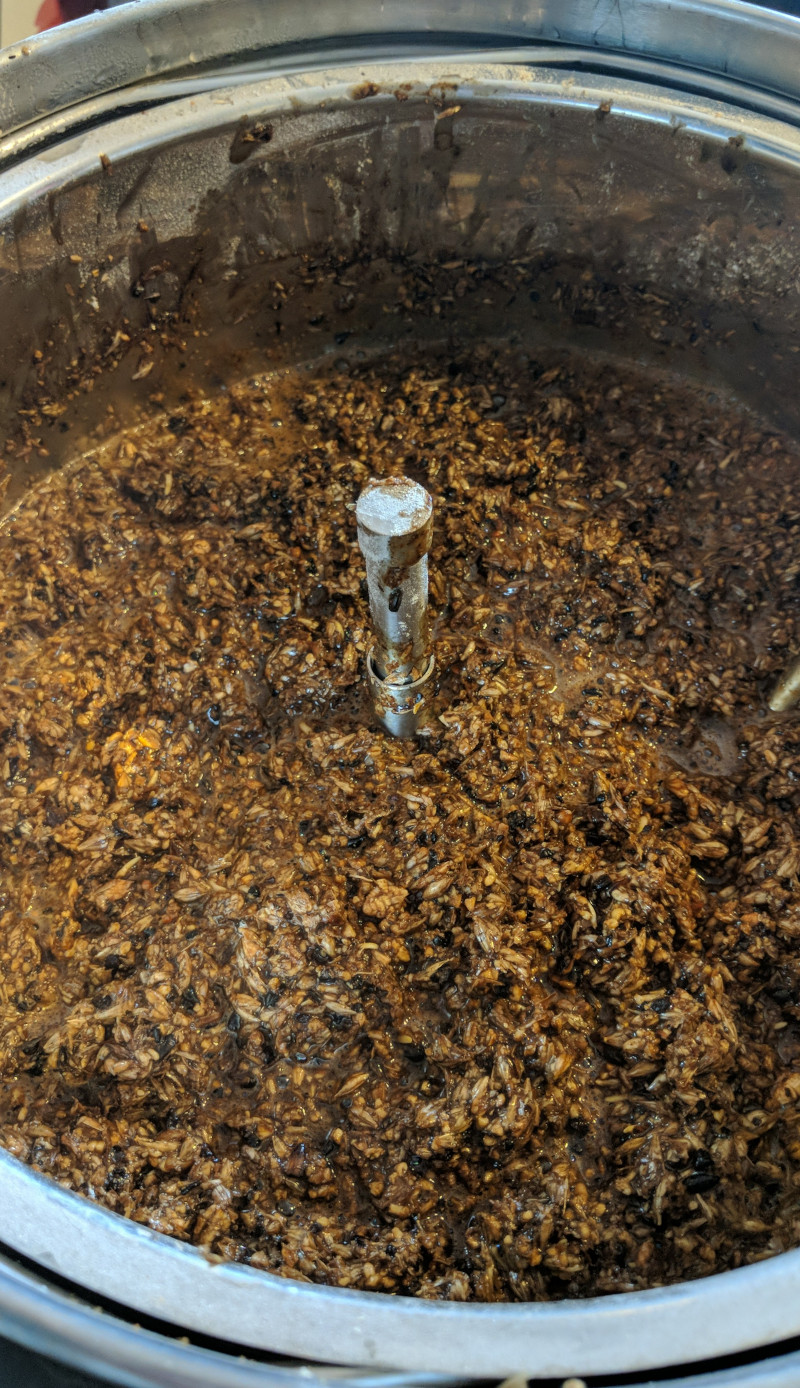
Stage 2 - Lautering & Sparging
DISASTER ZONE! For day #4, I was very, very flustered by this point and was trying to rush the sparging stage. In order to try and get the sparge water to drain more quickly, I was attempting to stir and break up the grain cake, however the metal bar supporting the insert containing the grains and water was not designed for additional weight, the force that I was applying was too much for it and it kept disconnecting from the unit and as a result wort and grains were propelled around the room, primarily up the wall and over a frustrated amateur brewer! I was certain at this stage that any hopes of making a drinkable beer were ruined.
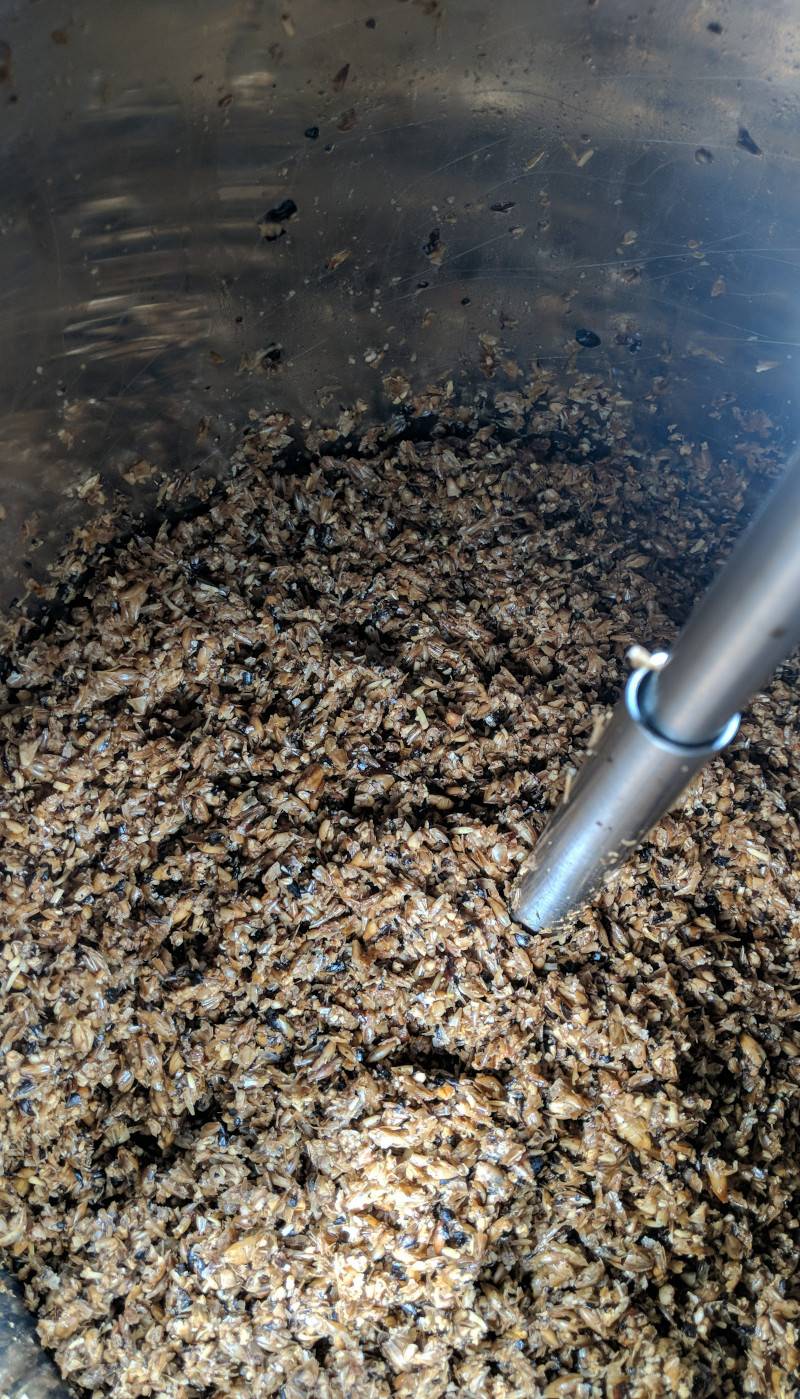
No issues experienced here on day #5, I made no attempts to rush the process, though I did very gently stir the grain on occasion when I couldn’t hear water passing through. It took almost 4 hours! No mess though!
Stage 3 - Boiling
Nothing to see here.
Stage 4 - Hop Additions
The schedule for this both brews was:
- 36g of hop B at 60 minutes (start of boil)
- 36g of hop A at 25 minutes (35 minutes into the boil)
In addition for the second of the brews:
- 100g of cocoa nibs at 5 minutes (55 minutes into the boil)
- 100g of coffee beans at end of fermentation for 24 hours.
Post boil on brew day #4, I attempted a whirlpool but the additional false bottom within the unit was rising every time I got some sort of pace going.. conclusion, no more whirlpooling attempts with this set up.
Stage 5 - Cooling
This is where the grainfather’s flaws come into play, whilst trying to rapidly cool the wort and transfer to the fermenter, it’s heating unit kicked in and started super-heating the wort. The fermenter is thankfully temperature controlled and was able to cool the wort back down to the target range before I added the yeast.
This happened on both days but I was more mentally equipped to deal with it on the second of the brew days. Added a lot more time to the process though!
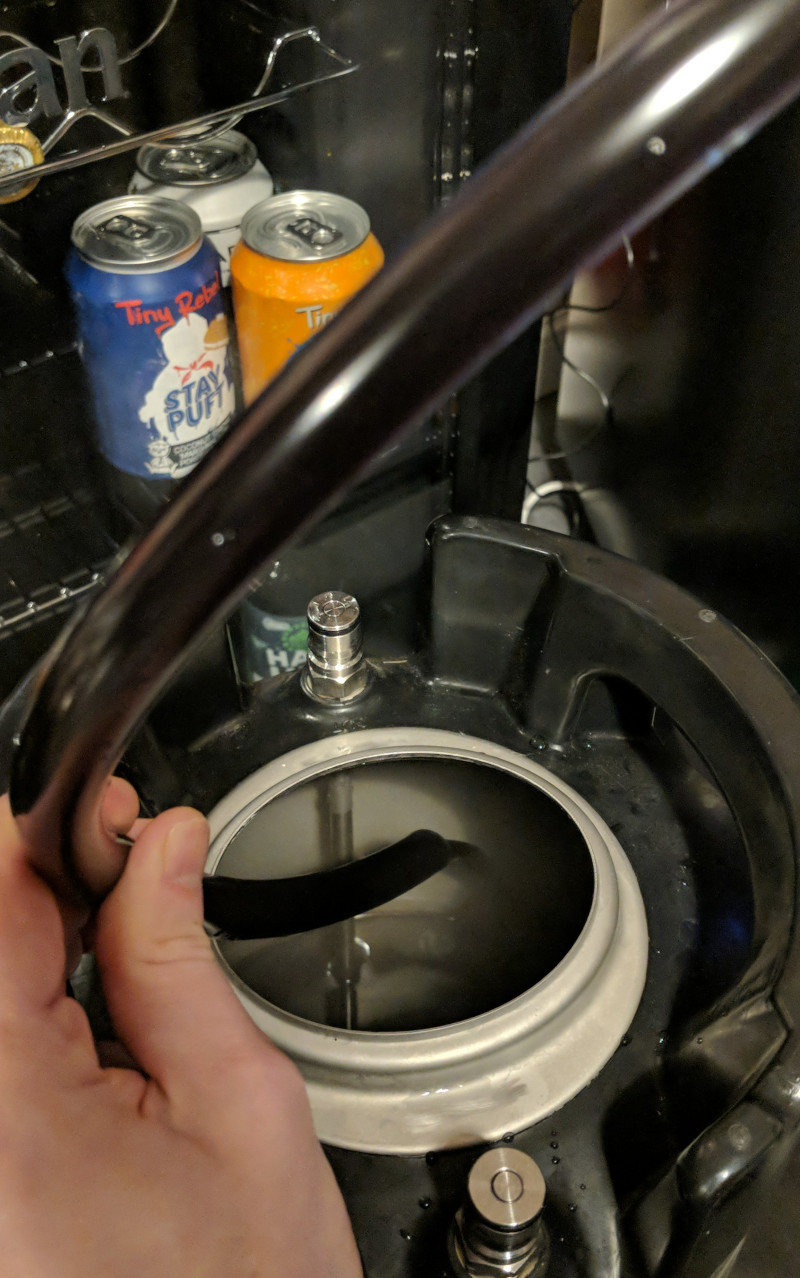
Stage 6 - Fermenting
My experiences with previous brews led me to purchase a cheap cooling system for my fermenter, involving an ice box and pipes which pump cooled water through the sleeve of the fermenter. As such despite the wort hitting the fermenter at a higher temperature than desired on both of these brews, I was able to cool it down in the fermenter before pitching the yeast.
Not much otherwise to report here from a process perspective, the only difference between both stout brews was that after arriving at a consistent final gravity reading for the second of the brews, I added 100g of coffee beans which had been briefly rinsed with boiling water into the fermenter, and then let it steep for 24 hours.
Despite the calamity of the first of these days, the gravity figures were surprisingly similar which you might think would mean a similar alcohol by volume figure.. that doesn’t appear to have been the case, although the estimate is pretty much the same the drinking experience suggests that the second beer was considerably closer to the target than the first. The impact of the booze after drinking was definitely more obvious with the latter beer.
For reference the following were my volume and gravity targets and final gravity (FG) results:
- Desired Volume: 23L
- Actual Volume (day #4): 23L
- Actual Volume (day #5): 22L
- Desired OG: 1.083
- Actual OG (#4): 1.070
- Actual OG (#5): 1.069
- Desired FG: 1.016
- Actual FG (#4): 1.040
- Actual FG (#5): 1.044
- Desired ABV: 8.9%
- Actual ABV: ~4%
- Actual ABV: ~3.5%
This leads me to believe that I have a little bit more to learn about how to use my refractometer. The first stout might have been around 4% the second was not, it was definitely much stronger. I have a fairly high resistance to alcohol (not a brag) and I was decidedly tipsy after just 3 schooners of it, 3 similar sized 5% beers have little noticeable impact normally. Yes, this is circumstantial but I’m calling the 2nd beer as hitting its ABV targets regardless of the evidence suggesting otherwise! This screams user error to me!
Stage 7: Kegging & Carbonating
Not much to mention here, I’m reasonably well versed in this process now and didn’t experience much worth reporting, except disappointingly off-target figures, but as noted above, I suspect I am somehow recording these inaccurately.
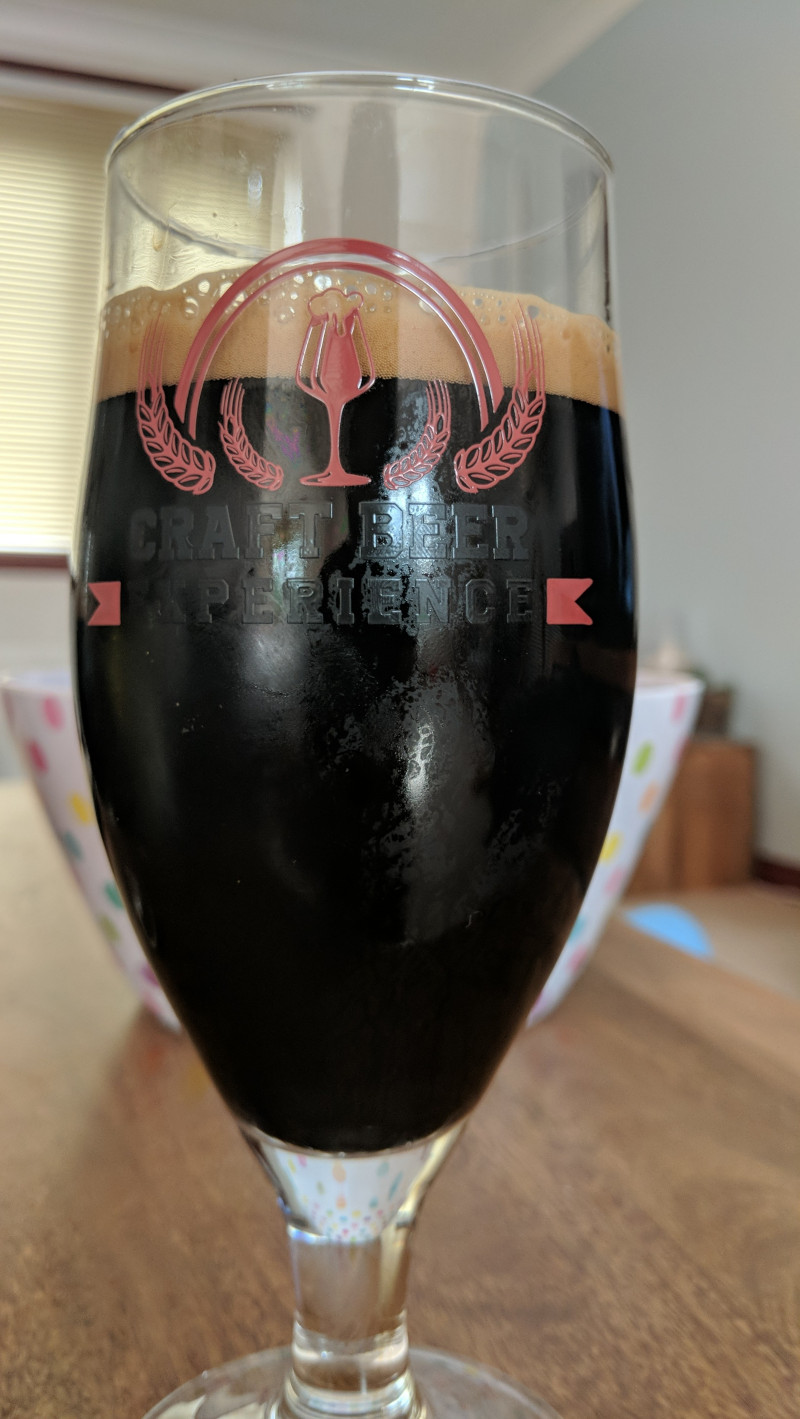
Stage 8: Drinking
The first beer turned out to be surprisingly passable, it wasn’t a clean tasting beer, it had a bit of funkiness, probably due to the comedy of errors surrounding it’s inception, but it was assuredly drinkable regardless. It was a homebrew though, no doubts about that, it would be returned at a bar and replacement sought.
It seems though that perhaps stouts, in our house anyway, have a larger buffer for success than IPAs do.
The second beer was OUTSTANDING! It was exactly what I wanted it to be, it’s an imperial stout so not really designed for ease of drink, it’s thick and oily, carries a punch in flavour and alcohol volume but is rounded off with very subtle hints of coffee and cocoa. This wasn’t just passable, it was wonderful! As I sit here, now at the boiling stage of my current brew, I can only hope that I am able to replicate this level of beer for my 3rd imperial stout in a row!
Imperial stout number three is so far going well, and is basically the same as from brew day #5 but with 50% more cocoa nibs. They are only in the mix for about 5 minutes so not much time to make an impact so we’ll see how that goes.
Onwards!
- A little less stout came to me one evening in the 90s as I sat in the Bell’s bar in Aberdeen for happy hour with a good friend. The bar was quiet, and to entertain ourselves we were re-branding the drinks we could see at the bar or marketing them with new slogans. One of my funny at the time creations was Guinness Lite with the slogan ‘A little less stout’. Whilst we went on to get fairly inebriated that one always stuck with me.. then some time later when I took my girlfriend (now wife) to Dublin to propose, we visited the Guinness storehouse and I discovered that at some point (possibly the 70s based on the font and graphical stylings) that Guinness in fact did have a beer called Guinness Lite, though I have no idea if they ever used the slogan ‘A little less stout’.
Interactions
|
If you do not have a webmentions enabled website then please use the comment parade form below.
Comment Parade
Please copy the following and paste into the URL field below: https://jon.kelbie.scot/article/not-black-and-white/